 Anacortes Siding
 Building New in Ship Harbor Means Building for the Water
Ship Harbor sits close enough to the water that salt air, wind-driven rain, and a long stretch of gray, damp months are simply part of owning property here. If you're framing a new home or addition in this part of Anacortes, the windows you choose and how they're installed will matter more than almost any other exterior decision you make. Get it right during new construction and you avoid a decade of callbacks, fogged glass, and soft trim. Get it wrong and the flashing mistakes get sealed behind siding where nobody sees them until there's a stain on the drywall.
New-construction window work is different from a retrofit or replacement job. Because the wall isn't finished yet, you have direct access to the sheathing, the weather-resistive barrier, and the rough opening framing. That's an advantage — it means the flashing and water management can be done correctly the first time, layered in the right order, instead of patched around existing siding. It's also a responsibility. Whoever installs these windows is setting the moisture-management plan for the entire building envelope, not just filling a hole with a window unit.
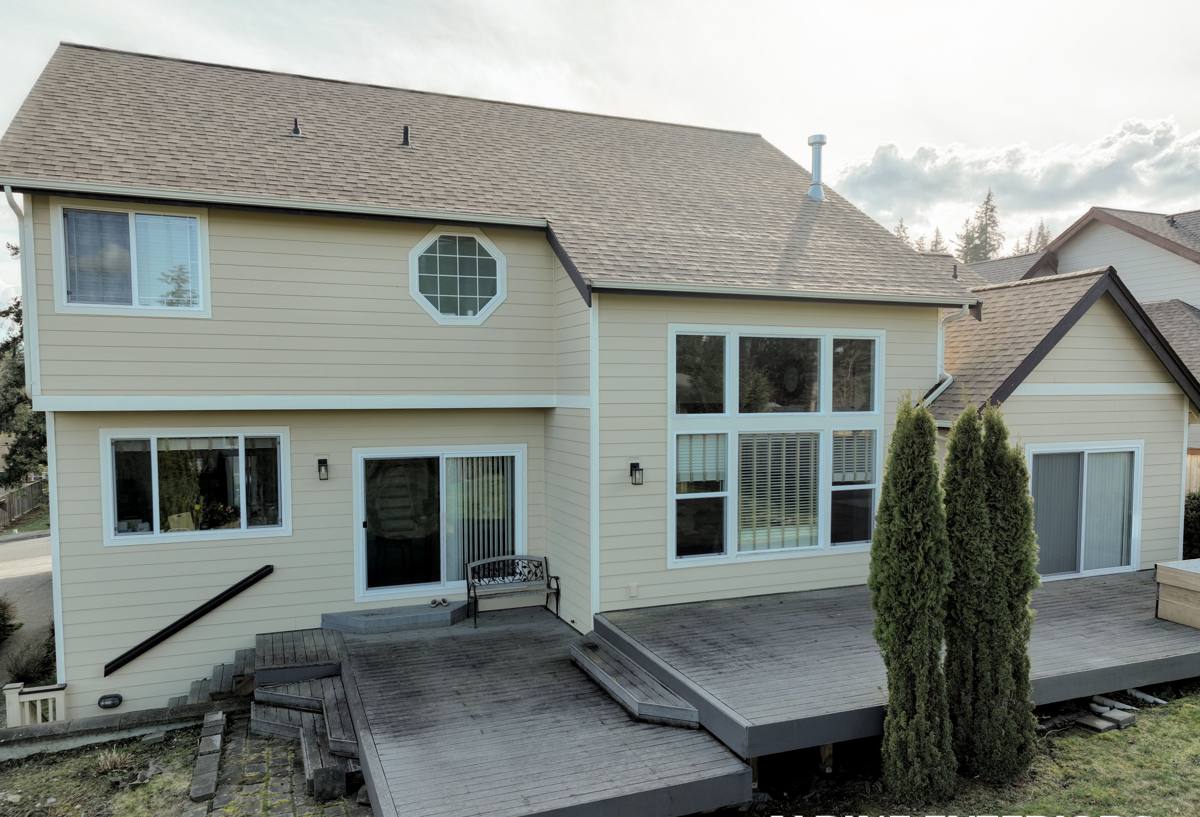
What Skagit County's Climate Actually Does to a New Window Opening
Anacortes and the surrounding Skagit County shoreline get a specific combination of stressors that inland builds don't deal with in the same way:
- Salt-laden air off the water accelerates corrosion on fasteners, hardware, and any exposed metal flashing that isn't rated for a marine-adjacent environment.
- Driving, wind-blown rain hits window openings at an angle, not straight down — which means flashing details that only shed water vertically will fail here.
- A long moss and algae season, roughly nine months of the year with enough moisture and shade to sustain growth, means any horizontal surface near a window — sills, trim caps, drip edges — needs to shed water fast or it stays damp long enough to grow something.
- Temperature swings between marine layer mornings and clearer afternoons put daily stress on seals and expansion joints.
None of this is dramatic on any single day. It's the accumulation over years that separates a window opening that performs for decades from one that starts leaking in year four.
Why This Matters More for New Construction Than Remodels
On a new build, the rough opening, the weather barrier, and the flashing sequence are all being built at once, in the right order, with nothing hidden yet. That's the one chance to get the water management layered correctly — sill pan first, then side flashing lapped over it, then head flashing lapped over the siding's weather barrier, so water is always directed outward and down, never trapped behind a layer. Once siding goes up, that sequence is locked in for the life of the building.
What a Correct New-Construction Window Install Involves
A proper job in a Ship Harbor build follows a consistent sequence, regardless of window brand:
- Rough opening check. Confirm the opening is square, level, and sized correctly for the specified window unit before anything else happens — this is the step most often rushed on a busy job site.
- Sill pan flashing. A sloped, corner-sealed sill pan under the window unit itself, so any water that does get past the window has a built-in path back outside instead of soaking into the framing.
- Weather-resistive barrier integration. The house wrap or building paper is cut and lapped so it integrates with the flashing in proper shingle-fashion order — every layer overlapping the one below it, never the reverse.
- Window setting and shimming. The unit is set plumb, level, and square, shimmed at the manufacturer's specified points so the frame doesn't rack and the sash operates correctly for the life of the window.
- Fastening per manufacturer specification. Corrosion-resistant fasteners, placed where the manufacturer's installation instructions call for them — this isn't optional in a salt-air environment.
- Side and head flashing. Installed over the nailing flange and integrated with the weather barrier above, so the whole assembly sheds water down and out.
- Insulation and air sealing around the frame. A gap left uninsulated is a cold spot that invites condensation on the interior in our damp winters.
- Interior and exterior trim prep, ready for the siding and finish crews to close everything up correctly.
Skip or shortcut any one of these steps and the window itself can be flawless while the opening still fails.
Choosing Windows for a Ship Harbor Build
Window selection for new construction near the water comes down to frame material, glazing package, and hardware — not just style.
| Frame Material | How It Handles Salt Air & Moisture | Maintenance Reality |
|---|---|---|
| Vinyl | Good corrosion resistance; won't rot; performs well in coastal air | Low — occasional cleaning, no painting or sealing |
| Fiberglass | Excellent dimensional stability and corrosion resistance; handles temperature swings well | Low — very stable, holds paint if desired |
| Aluminum-clad wood | Attractive interior wood look, but cladding seams and hardware need attention in salt air | Moderate — exterior clad protects wood, but corner seals matter |
| Bare wood | Most vulnerable to moisture and rot in a marine-adjacent climate without diligent upkeep | High — regular refinishing and sealant checks needed |
We don't refuse to install any particular frame material, but we do talk homeowners through the honest maintenance trade-offs before they commit — especially this close to the water, where the wrong hardware finish can start showing corrosion within a few seasons.
Glazing and Hardware Details Worth Asking About
- Low-E glazing packages help manage heat loss during our cooler, wetter months without making the home stuffy in the brief warm stretches.
- Corrosion-resistant hardware (locks, hinges, cranks) rated for coastal exposure, not just a standard interior-grade finish.
- Weatherstripping quality — the seal around an operable sash matters as much as the glass itself for keeping driving rain out.
- Sill design that sheds water away from the opening rather than pooling against the frame.
Our Process for New-Construction Window Jobs in Ship Harbor
Because we already work regularly in this part of Anacortes, we're familiar with how Ship Harbor's exposure to wind and water tends to play out on a build:
- Site walk with the builder or homeowner to review the plans, rough openings, and any exposure-specific concerns (which elevations face the prevailing wind and rain, for example).
- Coordination with the framing and siding trades so flashing sequencing isn't a guessing game between crews — this is where most water problems on new builds actually originate.
- Window measurement verification against the rough openings before ordering, to avoid on-site modifications that compromise the flashing plan.
- Installation following manufacturer specifications, which also keeps the window's warranty intact — most manufacturers will not honor a warranty claim if installation didn't follow their documented instructions.
- Final inspection of flashing, sealant lines, and operation before the opening is closed in behind siding.
Why Local Experience Matters Here
A crew that hasn't worked this stretch of Skagit County shoreline before can install a window perfectly well on paper and still miss the details that matter here — how far the wind-driven rain reaches up a wall, how quickly moss establishes on a poorly sloped sill, which corrosion-resistant fastener actually holds up near salt air instead of just being labeled for it. Familiarity with Ship Harbor's specific exposure isn't a sales point — it's the difference between an install that's fine on a calm September afternoon and one that's still fine during a January system rolling in off the water.
Common Mistakes We See on New Builds Near the Water
- Skipping or shortcutting sill pan flashing because "the window has its own flange" — the flange manages water at the surface; the sill pan manages what gets past it.
- Reversing the flashing lap order so water is directed behind the barrier instead of over it.
- Using standard interior-grade fasteners that begin corroding within a few years of salt-air exposure.
- Leaving gaps unsealed and uninsulated around the frame, creating a cold spot that condensates in winter.
- Rushing trim installation in a way that creates a horizontal ledge where moss and algae can establish.
Every one of these is avoidable with a careful, sequenced install — none of them require exotic materials, just attention to order of operations.
Cost Factors for New-Construction Window Installation
Pricing on a new-construction window package depends on several variables rather than a flat per-window rate:
| Factor | Why It Affects Cost |
|---|---|
| Number and size of openings | More or larger units mean more flashing detail work and labor time |
| Frame material chosen | Vinyl, fiberglass, and clad-wood units carry different material costs |
| Glazing package | Upgraded Low-E or impact-rated glass adds to unit cost |
| Wall complexity | Multiple elevations, unusual shapes, or high wind-exposure walls take more careful flashing work |
| Coordination needs | Jobs requiring tighter scheduling with framing/siding crews may affect labor sequencing |
We give homeowners and builders a written estimate that breaks these factors down rather than a single lump number, so you know what you're actually paying for.
A Pre-Install Checklist for Builders and Homeowners
- Confirm window sizes match rough openings before the order is placed.
- Verify which elevations face prevailing wind and rain for flashing priority.
- Choose a frame material with the maintenance level you're actually willing to keep up with.
- Ask your installer to walk you through their flashing sequence before work starts.
- Confirm fastener and hardware corrosion ratings in writing.
- Schedule the window install to align with siding crew timing — don't leave openings exposed longer than necessary.
If you're framing a new home or addition in Ship Harbor and want the window openings done right the first time, we're happy to walk the site, review your plans, and put together a free, no-pressure estimate — the request form below is the easiest way to get started.