 Anacortes Siding
 New Construction Windows in March Point: A Different Job Than Replacement
March Point sits out on Fidalgo Bay, close enough to open water that homes here take a steadier beating from salt-laden air and wind-driven rain than houses further inland in Anacortes. If you're framing a new home or an addition out this way, the windows you choose and how they get installed during construction matter more than they would somewhere sheltered. New-construction windows aren't the same job as replacement windows — they go in before the siding, with a nailing fin fastened directly to the sheathing and building wrap, and the flashing sequence around them becomes part of the home's water management system for the next several decades. Get that sequence wrong and you won't see it for a few years; then you'll see it in the sheathing.
This page covers what we do differently on new-construction window jobs specifically for March Point and similar exposed sites around Skagit County — not a generic rundown of window types, but the actual decisions that matter for a house built this close to the water.
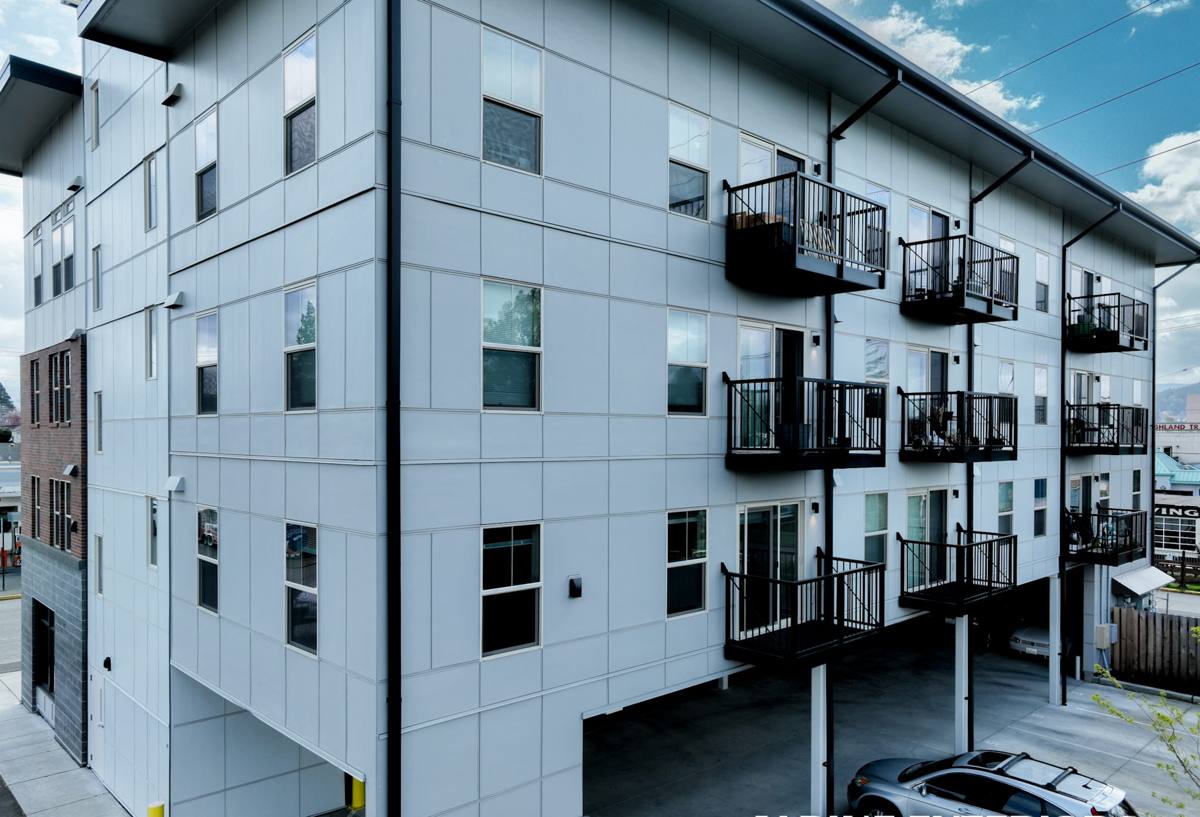
What This Climate Actually Demands From a New Window Opening
Skagit County isn't the wettest part of Western Washington, but March Point's position on the bay means more wind-driven rain hitting walls sideways instead of falling straight down, plus a longer moss and algae season on north- and west-facing surfaces than you'd get a few miles inland. Add in salt air off the water, and you've got three separate stresses acting on a new window opening at once:
- Wind-driven rain that gets pushed up and under standard flashing details, not just down onto them
- Salt air corrosion that shortens the life of the wrong fastener or cladding metal
- Extended damp season that keeps sheathing and framing at higher moisture content longer, so any small flashing gap has more time to do damage before it dries out
None of this means March Point needs exotic materials. It means the ordinary details — flashing laps, sill pans, sealant joints, fastener selection — have to be done correctly and consistently, because there's less margin for a shortcut here than there would be on a more sheltered lot.
Why This Matters More at the Framing Stage
Once siding goes on, a poorly flashed window opening is hidden. Any water that gets behind the cladding at that opening will track down inside the wall assembly, often showing up as staining, soft trim, or a musty smell in a completely different location than where the leak started. On a new build, this is the one point in the whole project where every layer of the water management system is visible and accessible at the same time. That's the leverage point — and it's why we treat new-construction window installs as a sequencing job, not just a window-setting job.
Flashing and Water Management: Where These Jobs Are Won or Lost
A correctly flashed rough opening follows a shingle-lap order so that every layer sheds water onto the layer below it, never the other way around. On an exposed site like March Point, we don't cut corners on any step of this sequence:
- Sill pan flashing (rigid or flexible, sloped to drain outward) installed before the window ever goes in the opening
- Window set into the opening and fastened per the manufacturer's nailing fin schedule — not just "enough nails to hold it"
- Jamb flashing lapped over the sill pan legs
- Head flashing lapped over the jamb flashing, with the weather-resistive barrier above it lapped over that
- Sealant used at the correct joints only — sealing the wrong joint (like the bottom of the nailing fin) traps water instead of letting it drain
On March Point builds we typically add a slightly wider head flashing detail and pay extra attention to end dams on the sill pan, since wind-driven rain off the bay tends to find the sides of an opening before it finds the middle. This isn't a specialty product — it's a more careful application of standard materials, matched to how weather actually hits a wall out here.
Frame Material: What Holds Up Near the Water
Frame material choice matters more on a bay-adjacent lot than it does a few miles inland, mostly because of how each material handles moisture cycling and salt exposure over time.
| Frame Material | How It Handles Salt Air & Rain | Maintenance | Where We Recommend It |
|---|---|---|---|
| Vinyl | Doesn't corrode; can discolor or become brittle over many years of UV and salt exposure | Low — occasional cleaning | Budget-conscious new builds, secondary structures |
| Fiberglass | Very stable in temperature and moisture swings; strong resistance to the damp/dry cycling common on the bay | Low | Primary residences on exposed lots, larger window units |
| Aluminum-clad wood | Good exterior weather protection if cladding seams are sealed correctly; interior wood offers warmth and strength | Moderate — cladding seams should be inspected periodically | Homes wanting a wood interior look with better exterior durability |
| Bare wood | Requires the most upkeep in a salt-air, high-moss environment; finish failure shows up faster here than inland | High | We generally steer new-construction clients away from this on exposed March Point lots unless upkeep is planned for |
We'll walk through these trade-offs against your budget and design goals rather than pushing one product line — the right call depends on how exposed your specific lot is and how much upkeep you want to take on.
Glass Packages and Orientation
New construction gives you a chance to match glass to orientation before the framing locks anything in. West- and southwest-facing openings on March Point catch the most direct wind-driven rain, so we look closely at sill height, overhang, and flashing detail on those elevations specifically. Glass selection is more about comfort and energy performance than moisture — low-E coatings and appropriate U-factors for our climate zone keep the house comfortable through the wet, cool months without over-specifying for weather that doesn't actually reach us. We'll talk through glass options as part of the same conversation as frame material, since both get decided at the same stage of a new build.
Our Process on a New-Construction Window Job
- Plan review — we look at window schedules and elevations before framing is complete, flagging any openings that need extra attention (west/southwest exposure, large units, low sill heights)
- Rough opening check — verifying openings are square, sized correctly, and sheathed per the window manufacturer's requirements before anything gets installed
- Sill pan and flashing installation — done in sequence, before the window is set
- Window setting — shimmed, squared, and fastened to the manufacturer's schedule, not just eyeballed
- Jamb and head flashing — lapped correctly with the WRB, ready for siding to go over it
- Final inspection — every opening checked before it gets covered up, since this is the last point anyone can see the work
Mistakes We See on Framing-Stage Window Jobs
Most of the window problems we get called out to fix on newer homes trace back to a handful of avoidable errors during the original install:
- Sealant used to "seal" the bottom of the nailing fin, trapping water inside the wall instead of letting it drain out
- Head flashing installed under the weather-resistive barrier instead of over it, reversing the drainage path
- Missing or undersized end dams on the sill pan, letting water track sideways off the pan and into the wall
- Fasteners that don't match the frame or cladding material, leading to early corrosion in salt air
- Rushing the sequence to keep pace with a framing schedule, so flashing steps get skipped or done out of order
Every one of these is preventable with a crew that treats window flashing as its own discipline rather than an afterthought squeezed between framing and siding.
A Homeowner or Builder's Checklist for This Stage
- Confirm sill pan flashing is installed and sloped before windows go in
- Confirm flashing laps follow shingle-style order (sill, then jamb, then head)
- Confirm sealant is used only at the correct joints, not the bottom of the nailing fin
- Ask which frame material is specified for exposed elevations and why
- Have openings inspected before siding covers them — this is your only chance to catch a problem before it's hidden
Why a Crew That Already Works March Point Matters
March Point isn't a huge neighborhood, but it has its own weather pattern within Anacortes — more direct exposure to the bay, more wind-driven rain, a longer moss season on shaded elevations. A crew that installs windows across Skagit County generally knows standard flashing details. A crew that's already worked this specific stretch of shoreline knows which elevations on a March Point lot typically take the worst of the weather and adjusts the flashing detail accordingly before problems start, not after a callback. That's the difference between a technically correct install and one that's actually built for where it sits.
If you're framing a new home or addition in March Point and want windows installed right the first time — flashed correctly, matched to your exposure, and ready for decades on the bay — we're happy to walk the plans with you and provide a free, no-pressure estimate. There's a form below to get started.