 Anacortes Siding
 Building New in Cap Sante Means Building for the Water
Cap Sante sits right up against Fidalgo Bay and Rosario Strait, which is part of what makes it such a desirable place to build — and part of what makes the window installation on that build more demanding than it looks on paper. Elevated, waterfront-facing lots catch wind loads that inland Anacortes framing rarely sees, salt-laden air accelerates corrosion on anything metal, and our long stretch of damp, low-sun winter months keeps siding, trim, and window perimeters wet or humid for weeks at a time. None of that is a reason to over-build or overspend. It is a reason to get the water management right the first time, because a window that's slightly off on flashing sequence in a dry inland neighborhood might go ten years before it shows a problem — in Cap Sante's exposure, it can show up in two or three.
New-construction windows give you an advantage replacement work never does: the wall is open. There's no existing siding, no old flashing to work around, no guessing what's behind the trim. Done right during framing, the window becomes part of a continuous drainage plane instead of a patch job. That's the whole case for this page — what "done right" actually means on a Cap Sante lot, and why the sequence matters as much as the window itself.
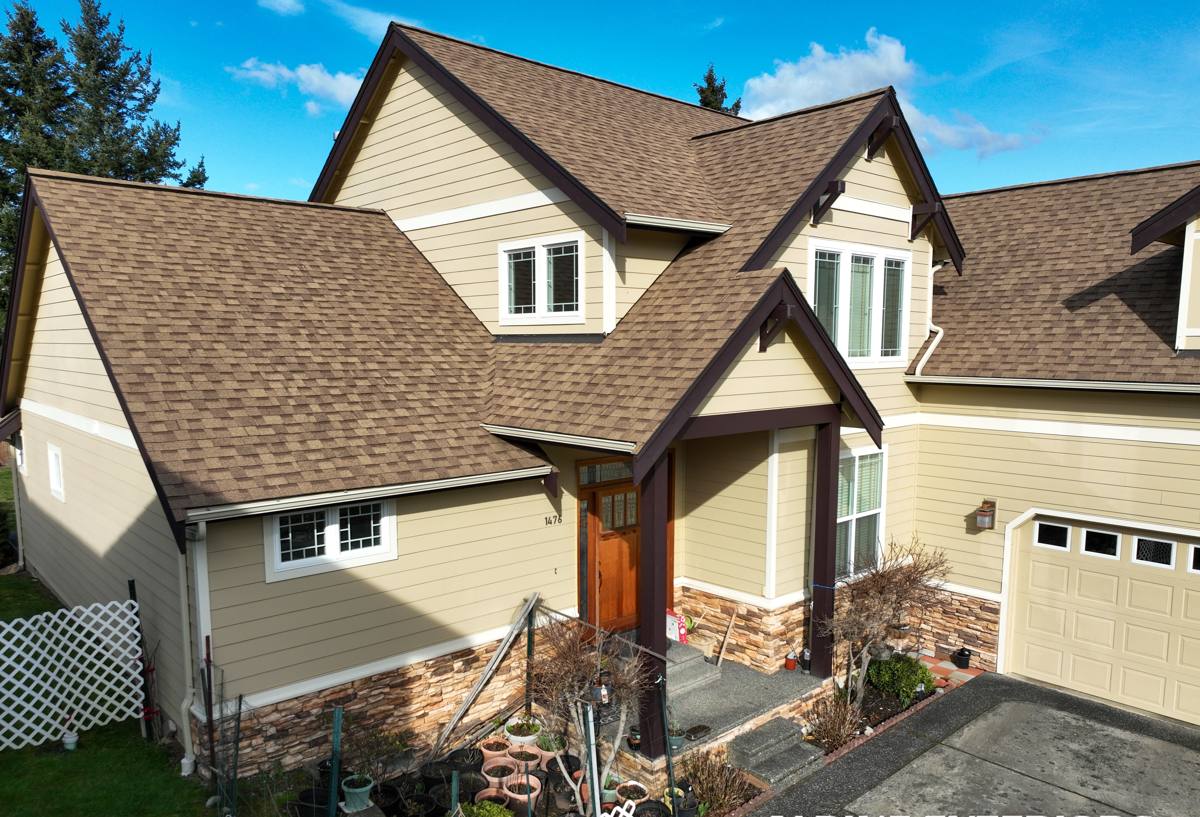
New-Construction vs. Replacement Windows — Why the Install Method Is Different
New-construction windows (sometimes called "nail-fin" or "flange" windows) have a mounting flange around the perimeter of the frame that gets fastened directly to the sheathing before the weather-resistant barrier (WRB) and siding go on. Replacement windows are built to slip into an existing opening with the old frame left in place, which is a different product with a different water-management approach entirely.
On a new build, the flange lets us integrate the window fully into the wall's drainage plane — sill pan first, then the window, then flashing tape over the flange in the correct shingle-lap order, then the WRB lapped over the top. Every layer sheds water to the layer below it, all the way down to the sill and out. That sequencing only works because the wall is open. It's the reason we push builders and homeowners to get us involved at the framing stage rather than after windows have already been ordered and set by someone unfamiliar with the site's exposure.
What Goes Wrong When the Sequence Is Skipped
The most common defect we find on new builds — in Cap Sante and elsewhere in Skagit County — isn't a bad window. It's a good window installed out of sequence: WRB taped over the flange instead of under it, no sill pan, or head flashing left off because "the siding will cover it." Water doesn't care what's visible from the outside. It follows gravity and finds the first gap in the layering, and on a wind-driven-rain site that gap gets tested a lot sooner than it would somewhere sheltered.
What a Correct New-Construction Window Install Includes
- Rough opening check — squared, correctly sized, and dry before the window ever shows up on site
- Sill pan flashing — a sloped, sealed pan under the sill so any water that gets past the window has a path back out, not into the framing
- Window set and shimmed level, plumb, and square — fastened per the manufacturer's schedule, not "close enough"
- Flange flashing in shingle-lap order — sides first, then head, taped so each piece overlaps the one below it
- WRB integration — the housewrap or building paper lapped over the head flashing, never tucked behind it
- Head flashing or drip cap — extra insurance above the window on the sides most exposed to wind-driven rain off the water
- Interior air seal — a bead of sealant or low-expansion foam between the frame and rough opening to stop air and moisture from working in from inside
- Final inspection — operation, weep holes clear, and a visual check of every flashing lap before siding closes it all up
Every one of those steps is invisible once the siding goes on. That's exactly why it has to be right the first time — there's no efficient way to inspect it again without opening the wall back up.
Choosing a Window Frame for a Cap Sante Build
Frame material matters more here than it does a few miles inland, mainly because of salt air and near-constant moisture exposure on waterfront and elevated bluff lots. We don't push one brand — we walk builders and homeowners through the honest trade-offs so the choice fits the site and the budget.
| Frame Type | How It Handles Salt Air & Moisture | Maintenance | Typical Fit |
|---|---|---|---|
| Vinyl | Frame itself won't corrode; hardware quality varies by manufacturer | Low — rinse periodically to clear salt residue | Budget-conscious new builds, secondary structures |
| Fiberglass | Dimensionally stable, resists warping from wet/dry cycling | Low | Waterfront and wind-exposed elevations |
| Wood-clad | Good performance if cladding and flashing details are executed correctly; exposed end grain is a weak point near salt air | Higher — finish and seams need periodic checking | Architectural styles where interior wood look is a priority |
| Aluminum | Conducts cold, prone to condensation in our winters; corrosion resistance depends on finish | Moderate | Less common for residential new-construction here |
Whatever material you land on, hardware — hinges, locks, cranks — is where salt air does the most damage over time. We look for corrosion-resistant hardware finishes on any window going into a Cap Sante build, because that's usually the first thing to fail, long before the frame itself shows wear.
Energy Code and Permitting for New Windows in Skagit County
Washington's state energy code sets minimum window performance (U-factor and, on larger glazing areas, solar heat gain coefficient) for new construction, and those numbers get checked at permit and again at inspection. On a Cap Sante build, we also factor in:
- Egress requirements — bedroom windows need to meet minimum clear opening size and sill height, which affects what unit sizes and styles are usable in sleeping rooms
- Wind exposure category — elevated or waterfront lots can call for a higher design pressure rating on the windows than the same house would need a mile inland
- Condensation resistance — our damp winters and cooler indoor-outdoor temperature swings make a window's condensation resistance rating worth checking, not just its U-factor
We coordinate directly with the builder and, where needed, the county inspector so window selection and rough openings are locked in before framing moves past the point where changes get expensive.
How We Work With Builders and Homeowners
Most of our Cap Sante new-construction work comes in one of two ways: as a subcontractor to a general contractor who wants a crew that already knows the site conditions, or directly with a homeowner managing their own build who needs the window and flashing package handled as one scope instead of split between the framer and the siding crew.
- Plan review — we look at window schedules and rough opening sizes before the walls are framed, catching sizing or egress issues early
- Timing coordination — windows go in after sheathing and sill pan prep, before the WRB is fully closed up, so the sequence works the way it's supposed to
- Install and flash — set, shim, fasten, and flash to the sequence above
- Walkthrough — we go window by window with the builder or homeowner before siding closes the wall, since that's the last point anything can be adjusted without demo work
What Affects Cost on a New-Construction Window Package
| Factor | Why It Moves the Price |
|---|---|
| Number and size of openings | More and larger windows mean more flashing detail work, not just more glass |
| Frame material | Vinyl, fiberglass, and wood-clad carry different material costs and install labor |
| Wind/design pressure rating required | Higher-rated units for exposed elevations typically cost more than standard-rated windows |
| Access and lot conditions | Elevated or tight waterfront lots can add setup and staging time |
| Coordination complexity | Working alongside a framing crew's schedule versus a standalone job affects labor efficiency |
A Practical Checklist Before Your Windows Go In
- Confirm the rough openings match the ordered window sizes before the windows arrive on site
- Ask whether sill pan flashing is included in the install scope — it should be, every time
- Confirm the flashing sequence (sides, head, WRB lap) will be visible for a walkthrough before siding closes it in
- Check the U-factor and design pressure rating against what's specified for your elevation and exposure
- Ask about hardware finish if you're on or near the water — standard finishes corrode faster in salt air
- Confirm who is responsible for egress compliance on bedroom windows before framing locks in
Why a Local Crew Matters for This Kind of Work
New-construction window flashing isn't complicated in theory — it's a sequence, and the sequence is well documented. What's harder to get from a crew that doesn't work Anacortes regularly is judgment about where to add margin: which elevations on a Cap Sante lot actually take the worst of the wind-driven rain, when moss season's extended damp stretch means giving sealants extra cure time, and which hardware finishes hold up against salt air versus which ones look fine on day one and pit within a couple of winters. That judgment comes from having done this work on this kind of site before, not from reading it off a spec sheet once.
We also know the local building department's expectations and the pace new builds move at in Skagit County, so we're not the reason a framing schedule slips. For a builder juggling multiple trades, that predictability is worth as much as the install quality itself.
If you're framing a new build in Cap Sante and want a crew that already understands the site conditions, we're glad to walk the plans with you and give you a straightforward, no-pressure estimate — just fill out the form below.