 Anacortes Siding
 New-Construction Windows for Bow-Area Builds
Bow sits close enough to the water that every new home going up out there has to deal with the same combination: salt-laden air moving in off Samish Bay and Padilla Bay, wind-driven rain that doesn't fall straight down, and a long wet season that keeps wood and trim damp for months at a stretch. New-construction window installation is the one stage of a build where you get to do this right the first time — before siding, trim, and interior finishes cover up the flashing details that determine whether those windows stay watertight for the next 20-30 years. We install new-construction windows on homes and additions in and around Bow, and we treat the flashing and weatherproofing steps as the actual job, not a formality on the way to hanging sash.
"New-construction" windows are different from the replacement units most contractors install in remodels. They come with a nailing fin around the perimeter that gets integrated into the wall's weather-resistive barrier (WRB) in a specific shingled sequence — building paper or house wrap, then flashing tape, then the window, then more flashing, then the WRB laps back over the top. Get that sequence wrong, even on a brand-new wall, and water finds its way behind the siding within a few winters. In a place like Bow, with wind coming off open water and rain that gets pushed sideways against west and south-facing walls, that sequence matters more than it would somewhere drier.
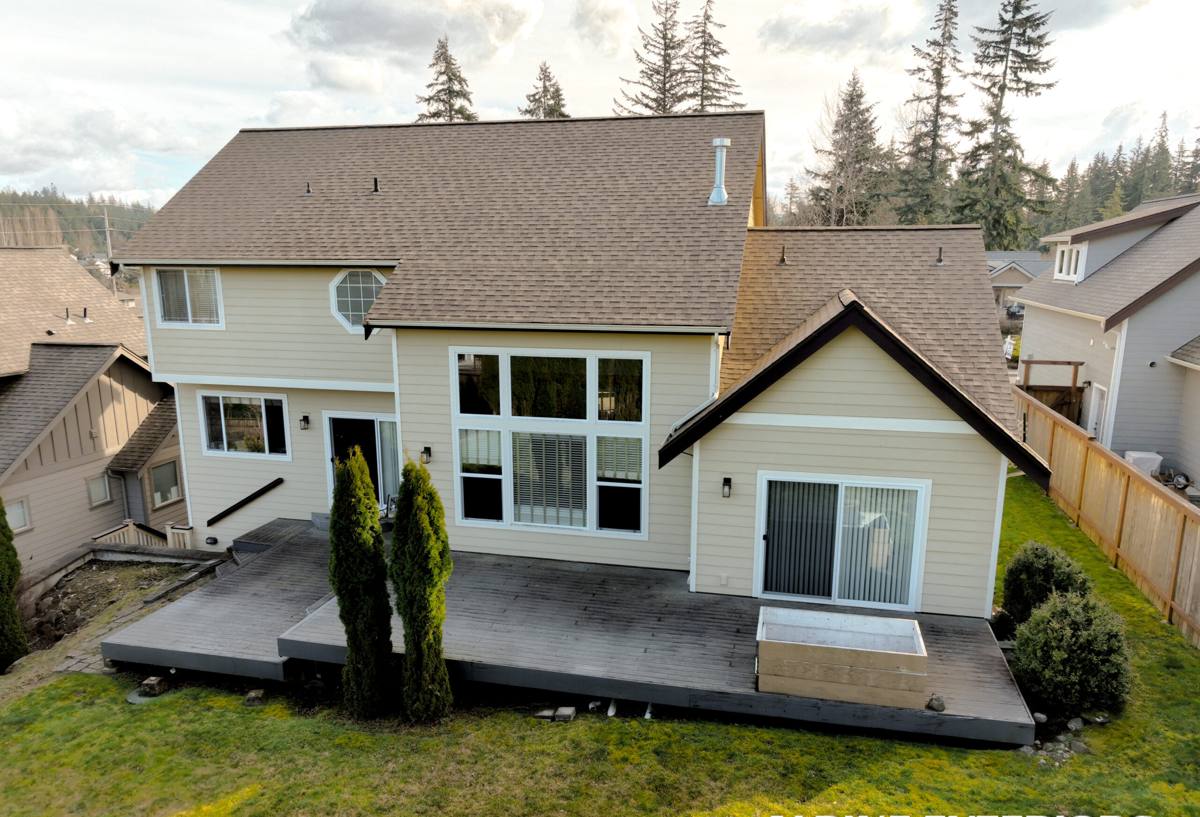
What Bow's Climate Does to a New Window Opening
Salt Air and Metal Components
Homes close to Samish Bay and Padilla Bay see salt-laden air moving inland, and that air is hard on unprotected steel fasteners, uncoated flashing, and cheaper window hardware. We spec corrosion-resistant fasteners and flashing components for anything within that salt-influence zone, and we pay attention to which window frame materials and hardware finishes actually hold up near the water versus which ones chalk, pit, or streak within a few years.
Driving Rain Against New Walls
Skagit County gets plenty of rain, but the more damaging factor for new construction is wind-driven rain hitting walls at an angle, which pushes water up and under laps that would shed a vertical rain fine. Sill pans, properly lapped flashing tape, and correct head flashing aren't optional extras on a Bow build — they're the difference between a window opening that sheds water and one that slowly wicks it into the framing.
A Long Moss and Mildew Season
The extended damp season in this part of Skagit County keeps exterior surfaces wet longer than in drier climates, which is exactly what moss, algae, and mildew need to get established. On a new build, that means giving real thought to sill design, drip caps, and trim details that let water run off cleanly instead of sitting in ledges and corners where growth takes hold within the first couple of years.
What a Correct New-Construction Window Install Involves
On new construction, we're working with an open, unfinished wall, which is actually an advantage — every flashing layer is accessible and inspectable before it gets buried. The steps we follow, in order:
- Rough opening check. Verify the opening is square, plumb, and sized correctly for the specified window unit, with the sill sloped slightly to the exterior.
- Sill pan flashing. A back-dammed or sloped sill pan goes in first, so any water that gets past the window in a driving-rain event drains back out instead of pooling on the framing.
- Jamb and head flashing tape. Self-adhering flashing tape is applied to the jambs first, then integrated with the WRB in a shingle-lap sequence so water always moves downward and outward, never into a seam.
- Window installation and shimming. The unit is set, shimmed plumb and square, and fastened per the manufacturer's schedule — not just "close enough."
- Head flashing. Installed last, lapping over the WRB above the window so water shed from the wall above runs over the top of the flashing, not behind it.
- WRB integration and inspection. The house wrap or building paper above the window laps back over the head flashing before siding goes on, closing the drainage path.
Skipping or reordering any of these steps is how a brand-new window ends up with a moisture problem inside five years — and on new construction, there's no excuse for it, because everything is visible and accessible before it's covered.
Choosing Window Materials for a Bow Build
We don't push one brand over another — the right material depends on budget, architectural style, and how close the lot sits to open water. Here's how the common options stack up for this specific environment:
| Material | Salt-Air Performance | Maintenance | Typical Fit |
|---|---|---|---|
| Vinyl | Good — won't corrode or rust | Low; occasional cleaning | Budget-conscious builds, rentals, spec homes |
| Fiberglass | Very good — dimensionally stable, resists pitting | Low | Homes wanting durability without wood upkeep |
| Wood-clad | Depends on cladding; exposed wood needs protection near salt air | Higher — finish and seals need periodic attention | Traditional or higher-end architectural styles |
| Aluminum | Poor unless well-coated — prone to corrosion near salt air | Moderate | Modern designs, but we flag salt exposure as a real trade-off |
For lots with direct exposure to bay winds, we lean toward vinyl or fiberglass unless the homeowner has a specific reason to want wood-clad or aluminum — in which case we talk through the added maintenance honestly rather than let it be a surprise later.
Working With Builders and GCs in the Bow Area
Most of our new-construction window work happens as a subcontracted piece of a larger build, working directly with the general contractor's schedule. That means:
- We coordinate install timing with the framer and WRB installer so flashing sequencing isn't fought over between trades.
- We use the same flashing tape and sealant systems throughout a project rather than mixing incompatible products at different openings.
- We document window rough-opening sizes early so there's no scramble if a unit needs to be reordered.
- We flag any wall assembly detail — house wrap type, sheathing, siding plan — that changes how we approach flashing before installation day, not after.
If you're a homeowner working with your own GC on a Bow build, we're glad to come in as the window sub and coordinate directly with your builder's schedule.
Our Process on a Local New-Construction Job
- Plan review. We look at window schedules and rough-opening dimensions before the walls are even framed, so there are no surprises on install day.
- Site visit. We walk the lot to note orientation, exposure to prevailing wind and rain direction, and anything specific to the site that affects flashing decisions.
- Material selection. We help the homeowner or GC choose window materials that make sense for the exposure level of that particular lot.
- Installation. Flashing, sill pans, and WRB integration done in the correct sequence, with photos taken at each covered stage for the homeowner's records.
- Final check. Every unit gets operated, checked for square and smooth function, and visually inspected before we call the job done.
What to Check Before You Hire a New-Construction Window Crew
- Do they install sill pan flashing on every opening, or only "when needed"?
- Can they explain their flashing sequence in plain terms — which layer goes over which?
- Do they carry documentation for the fasteners and flashing tape they use near salt air exposure?
- Will they coordinate scheduling directly with your framer or GC without you playing go-between?
- Do they take photos of flashing details before the wall gets covered by siding?
If a contractor can't answer the flashing-sequence question clearly, that's worth pausing on — it's the single detail that determines whether the window performs for decades or leaks within a few winters, especially this close to the water.
Why Hire a Crew That Already Works in Bow
New-construction window performance comes down to details that are invisible once the siding goes on — sill pan direction, tape lap order, how the WRB gets integrated at the head flashing. A crew that already works Skagit County lots near Bow has seen how the local exposure to bay winds and driving rain plays out over the years on homes just like the one you're building, and adjusts flashing and material choices accordingly instead of applying a generic install method that was designed for a drier, calmer climate.
If you're planning new-construction windows for a build in Bow or nearby, we're happy to take a look at your plans and walk the lot before framing is even finished. Reach out for a free, no-pressure estimate — there's a form below.