 Anacortes Siding
 Why La Conner Siding Wears Differently Than Inland Homes
La Conner sits low, flat, and close to the water along the Swinomish Channel, which means homes here take on a combination of weather stress that inland Skagit County neighborhoods simply don't see as often. Salt-laden air off the channel accelerates corrosion on fasteners and metal trim. Driving rain, pushed sideways by wind off the water, finds every gap in flashing and caulk that a calmer climate would never expose. And the long, damp shoulder seasons that stretch from fall through spring give moss, algae, and lichen months at a time to colonize anything that stays wet — siding included.
None of that means La Conner homes are doomed to constant repair. It means the siding on them has to be inspected, repaired, and maintained with that specific combination of conditions in mind, not treated the same way you'd treat a house twenty miles inland. That's the whole premise of this page: siding repair done right for a La Conner property looks a little different than a generic repair job, and knowing why matters before you hire anyone.
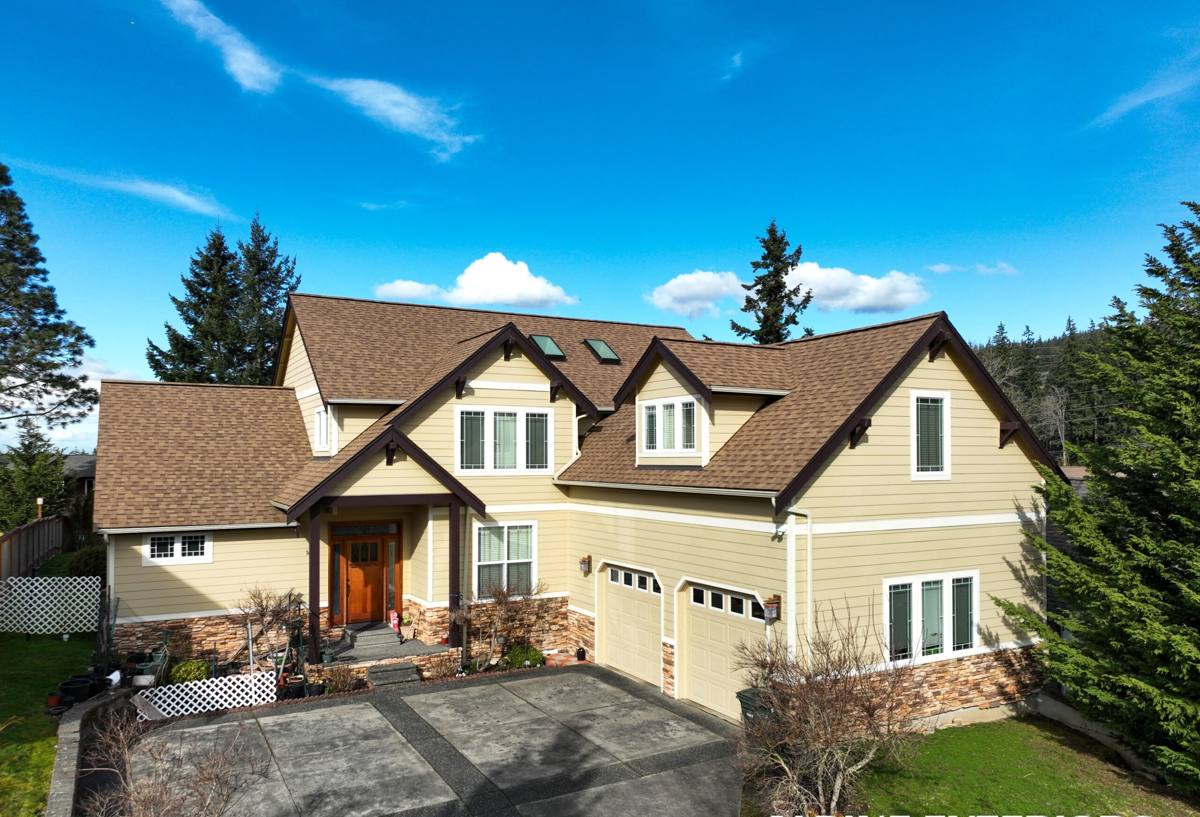
Signs Your La Conner Home Needs Siding Repair
Most siding problems don't announce themselves with a dramatic failure. They show up as small, easy-to-dismiss details that get worse every wet season they're ignored. Homeowners in La Conner should be especially alert to these, since the climate here turns minor issues into moisture problems faster than in drier parts of the county.
- Dark green or black staining that keeps returning within weeks of being cleaned — a sign moss or algae has a permanent foothold, not just a surface stain
- Soft, spongy, or crumbling spots when you press on a panel, especially near the bottom courses and around windows
- Visible gaps, cracks, or separation at seams, corners, and trim boards
- Peeling, bubbling, or chalky paint that keeps failing in the same spots year after year
- Rust streaks bleeding down from nail heads or metal flashing
- Warped, bowed, or buckled panels, particularly on walls that face prevailing wind and rain
- A musty smell or visible mold on the interior wall that backs up to an exterior wall with siding issues
Any one of these on its own might be minor. Several appearing together, or reappearing after a cosmetic cleaning, usually means moisture has already gotten past the siding and into the wall assembly — which changes the scope of the repair.
What's Actually Causing the Damage
Moisture Intrusion
This is the root cause behind the large majority of siding repairs we see. Wind-driven rain off the channel doesn't fall straight down — it hits walls at an angle and works its way behind poorly lapped panels, failed caulk joints, and aging flashing around windows and doors. Once water gets behind the siding, it doesn't dry out quickly in a climate where the air itself stays damp for months.
Moss and Organic Growth
Moss doesn't just sit on top of siding — its root structure holds moisture directly against the surface, which is a problem whether the underlying material is wood, engineered wood, or fiber cement with a compromised finish. In shaded areas, under overhangs, and on north-facing walls, moss can establish itself within a single wet season and keep that section of wall damp longer than the rest of the house.
Salt Air Corrosion
Fasteners, flashing, and any exposed metal trim are the first things to show wear in a marine environment. Once a fastener corrodes and loses its grip, the panel it's holding starts to move, which opens gaps that let water in — a small hardware problem becomes a siding problem.
Installation Shortcuts
A surprising number of repair calls trace back to how the siding was originally installed rather than the material itself — insufficient overlap, missing or improper flashing, caulk used in place of proper flashing, or fasteners driven at the wrong depth. These issues can sit hidden for years before they show up as a soft spot or a stain.
Repair or Replace? How to Tell the Difference
Not every damaged section needs a full re-side, and not every repair is worth doing. The right call depends on how much of the wall is affected, what's underneath, and how old the existing siding already is.
| Factor | Repair Usually Makes Sense | Replacement Usually Makes Sense |
|---|---|---|
| Extent of damage | Isolated to one or two wall sections | Recurring across multiple elevations |
| Sheathing condition | Dry, solid wood underneath | Soft, rotted, or waterlogged sheathing found during inspection |
| Age of existing siding | Under 10-15 years, otherwise sound | Original siding is at or past its expected service life |
| Material match | Matching panels or trim still available | Discontinued product, no reasonable match possible |
| Root cause | A single failed flashing detail or fastener issue | Systemic installation problems throughout |
We won't tell a homeowner they need a full replacement when a targeted repair will genuinely hold up — that's not how we want to run our business. But we also won't patch over rotted sheathing or paper over a moisture problem that's going to resurface next winter. Part of an honest inspection is telling you which category your home actually falls into.
What a Correct Repair Actually Involves
A repair that's done right addresses what's behind the siding, not just what's visible from the street. That distinction matters more in La Conner's climate than almost anywhere else in Skagit County, because a repair that only replaces the damaged panel without checking what caused the damage tends to fail again within a year or two.
- Remove the damaged material down to and including any compromised sheathing or building paper, not just the visible panel.
- Inspect what's underneath for hidden rot, mold, or ongoing moisture intrusion before anything new goes back on.
- Correct the root cause — this usually means fixing or replacing flashing, house wrap, or fastener patterns, not just swapping the panel.
- Match materials properly so the repaired section performs the same as the surrounding siding, both structurally and in appearance.
- Reseal and finish with the right caulk, paint, or factory-matched finish so the repair doesn't stand out or become a new weak point.
Skipping the second and third steps is the most common shortcut in the industry, and it's the reason so many "repaired" homes end up with the same problem in the same spot a couple of wet seasons later.
Our Siding Repair Process in La Conner
We keep the process straightforward because homeowners deserve to know exactly what they're paying for before we start.
1. On-Site Inspection
We look at the whole exterior, not just the section you called about. Damage in a marine, high-moss climate is rarely limited to the spot that's easiest to see, and a five-minute walk around the house often finds the actual source of a problem that's showing up somewhere else.
2. Moisture and Substrate Check
Where we suspect water has gotten behind the siding, we open up the affected area to check the sheathing and framing before quoting anything. No homeowner should get a repair estimate based on a guess.
3. Written, Itemized Plan
You get a plan that separates what needs to happen now from what can wait, with the reasoning behind each item explained in plain terms.
4. The Repair Itself
We correct the cause first — flashing, fastener pattern, drainage plane — then rebuild the visible siding to match the surrounding wall.
5. Cleanup and Walkthrough
We walk the finished repair with you so you know exactly what was done and why, and what to keep an eye on going forward.
Why It Matters That We Already Work in La Conner
A crew that only sees this climate occasionally tends to treat every repair as a one-off. A crew that works La Conner and the surrounding Skagit County waterfront regularly starts to recognize patterns — which wall orientations take the worst of the driving rain, which older siding products in the area are prone to the same failure points, and what a properly sealed repair needs to hold up through a full winter of wind off the channel. That local pattern recognition is the difference between a repair that's cosmetically fine for one season and one that actually solves the problem.
It also matters for something less obvious: matching finishes. A repair that uses the wrong paint sheen, the wrong caulk color, or a panel profile that doesn't quite line up with the original siding is easy to spot from the street, even if it's functionally sound. Familiarity with the products already on homes in this area makes that kind of clean match far more likely.
What We Use for Repairs — and Why
We install and repair with James Hardie fiber cement siding exclusively. We don't install vinyl, LP SmartSide, or primed wood siding, and that standard applies to repair work too. Fiber cement doesn't rot, doesn't feed moss the way untreated wood can, and holds its factory-applied ColorPlus finish far longer than field-applied paint — which matters directly for repair matching, since a properly maintained Hardie finish stays consistent enough that a repaired section blends in rather than standing out as a visibly newer patch.
When we're repairing a section of existing Hardie siding, we use matching HZ5 products engineered for exactly this kind of wet, marine climate. When a home has older wood, vinyl, or other engineered siding and the damage is extensive enough that repair isn't the honest recommendation, we'll say so — and we'll explain why Hardie is what we'd put on the wall instead, rather than just patching a product we know struggles with the same conditions that caused the original damage.
Keeping a Repair From Becoming a Repeat Repair
A few maintenance habits go a long way toward protecting both new siding and a freshly repaired section in this climate:
- Clean moss and algae off siding at least once a year, before it has a chance to establish a root structure
- Keep gutters clear so overflow doesn't run down the wall behind the siding
- Trim back shrubs and trees that keep a wall shaded and damp longer than the rest of the house
- Check caulk at trim, window, and door joints annually and recaulk before it cracks, not after
- Walk the exterior after major windstorms to catch loosened panels or trim early
None of this is complicated, but it's the difference between a repair that lasts and one that reopens the same conversation in a couple of years.
Get an Honest Look Before You Commit to Anything
If you're seeing staining, soft spots, or recurring moss on your La Conner home's siding, the first step is a straightforward, no-pressure inspection — not a sales pitch. We'll tell you plainly whether you're looking at a targeted repair, and what caused the damage in the first place, so you're not just paying to have the same problem covered up. Reach out for a free estimate using the form below.